Image Mask Generator

image mask generator

Brush Your Way to Flawless Edits

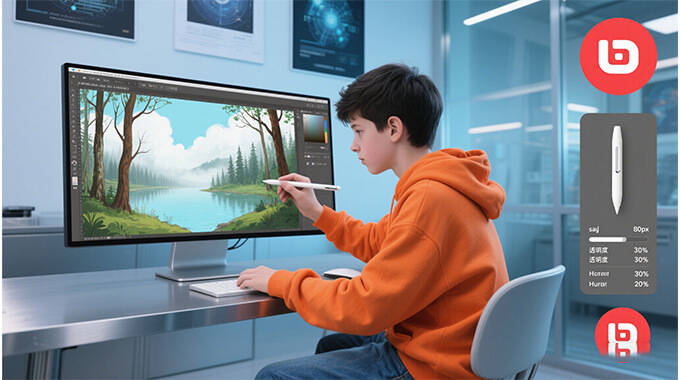
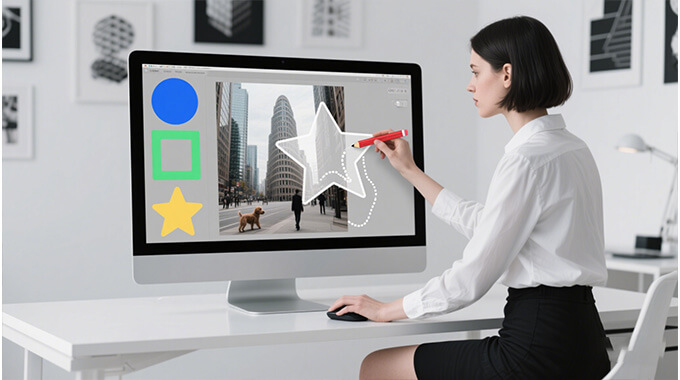
Make precise edits by painting directly onto your image with the brush tool. You can adjust the brush's size, opacity, and hardness for different effects. It's perfect for adding details, correcting areas, or creating smooth photo transitions. With the brush tool, you can work on specific areas of the photo without affecting the whole picture. Whether painting over areas or blending effects, this tool gives you full control over your edits.
brush tools
smart image masking

Precise Editing with Smart Image Masking

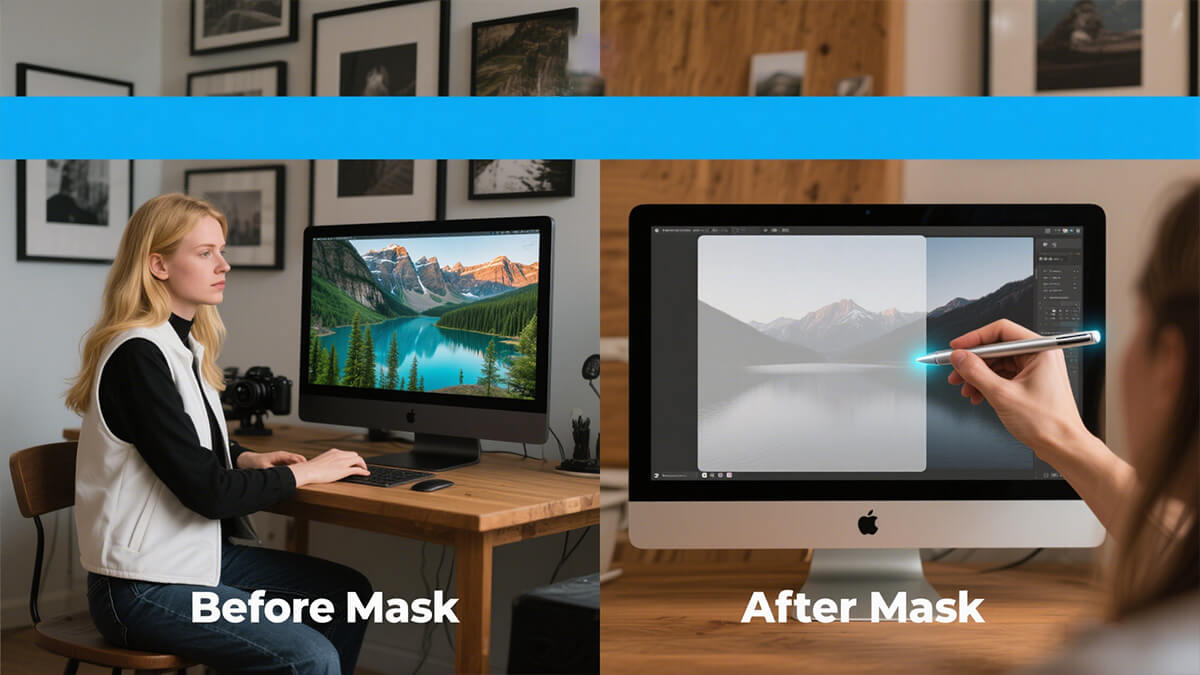
With great accuracy, smart image masking helps you select only the parts of an image you want to keep or remove. You can fine-tune the edges, hide backgrounds, or focus on specific details without changing the original image. This feature is perfect for photo editors, designers, and content creators who need clean, sharp cutouts. With smart masking, you have full control over what stays visible and what gets hidden. It's especially helpful when working with hair, fur, or semi-transparent objects. You get professional results without needing advanced editing skills. The goal is to save time while still achieving a polished look.

Auto Masking for Quick, One-Click Selections

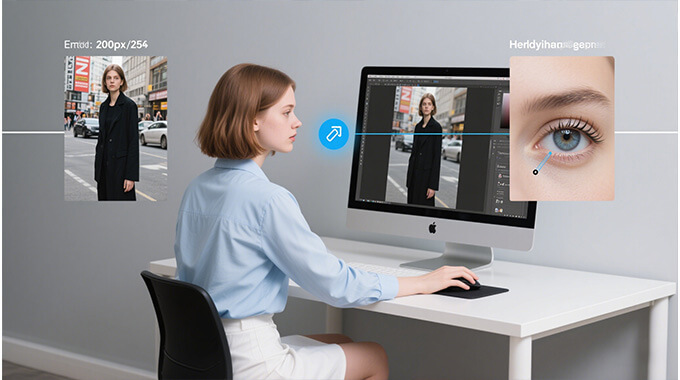
Auto Masking uses advanced AI to instantly detect the main subject in your image and separate it from the background. This key feature is perfect for beginners or anyone who wants quick, professional-looking results without doing the work manually. It’s especially useful for eCommerce sellers, content creators, and educators who need clean visuals fast. With a single click, you can remove unwanted backgrounds and focus attention where it matters most. There’s no need for complicated selections or editing skills; the image masking online tool does it for you.
auto masking
refine edges

Refine Edge for Natural Transitions

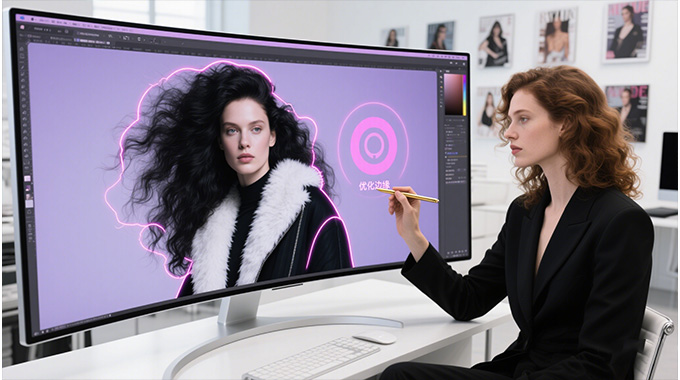
Make your image edges smooth and natural with the Refine Edge tool. This is especially helpful when masking tricky subjects like hair, fabric, or fur. It’s designed for users who want clean results without sharp or awkward borders. You can also make your cutouts look more realistic and polished with just a few adjustments. This feature is ideal for portrait editors, product photographers, and anyone preparing images for presentations or print. It takes the guesswork out of perfecting edges. The result is a seamless, professional finish every time.

Frequently Asked Questions

What is an image mask?

An image mask is a tool used in photo editing to hide or show specific parts of an image without deleting anything. It works like a filter that controls which areas are visible and which are hidden. You can use an image mask to isolate a subject, remove a background, or blend multiple images. The mask is usually a black-and-white layer; black hides parts of the image, white shows them, and gray gives partial transparency. This lets you make detailed changes without affecting the original image. It’s useful for clean edits, especially when you want to focus on just one part of a picture.

How do I make an image mask?

First, choose the layer you want to mask in your editing software to make an image mask. Then, add a mask layer by clicking the “Add Layer Mask” or “Create Mask.” You can use brushes, shapes, or selections to paint or define the areas you want to hide or reveal. If you prefer to paint the photo, use black paint to hide parts of the image, while painting with white brings them back. For more precision, you can also use tools like feathering, refining edges, or gradient masks. This gives you full control over how your final image looks, without deleting or cutting anything permanently.

Why is image masking used?

Image masking controls what parts of an image are visible, which is helpful in many editing tasks. Designers use it to combine images or create special effects. Photographers also use it to fix or enhance certain parts of a photo without changing the whole thing. On the other hand, marketers and content creators often use image masks to make clean product images or social media visuals with transparent backgrounds. It’s also great for removing distractions or highlighting specific areas in a picture. Masking is more flexible than erasing because you can always go back and change it.

Is masking non-destructive editing?

Yes, masking is a form of non-destructive editing. This means the original image stays untouched, and your changes can be reversed anytime. Instead of cutting or deleting parts of the image, masking simply hides them. You can adjust the mask as many times as needed, erase parts, bring them back, or refine the edges without starting over. This is very useful in projects where changes are made often or need client approval. Non-destructive editing gives you more freedom and saves time, especially in professional work.